

Why a framework beats guesswork
When you’re designing a waterfront promenade or a residential pier, you want predictable outcomes — not surprises. Use a clear framework to translate design intent into spec language: target lumen output, optical control, and durable materials. Start by thinking about performance first; then you can refine the form without losing the function. For product examples that meet stringent exterior needs, check options in led outdoor lighting as you map performance targets to available fixtures.
The five-step framework for pier‑mount lighting
Break the spec into five repeatable steps: 1) set task illuminance and lumen budgets; 2) choose beam angle and glare control; 3) pick materials and finish for the marine environment; 4) specify electrical, controls and IP rating; 5) prototype, measure, and refine. This structure keeps negotiations with manufacturers objective and reduces costly rework during installation — you’ll thank yourself on day one of commissioning.
Step 1 — Define lumens by task
Start with the use-case: navigation edge lighting, walkway safety, seating areas, or accent uplighting each demands different lumen targets. Walkway and safety tasks typically need controlled, even illuminance; accent tasks need higher candela over a smaller area. Use lumen ranges rather than single numbers — that creates room for optics to do the work. Keep an eye on correlated color temperature (CCT) too; 3000K often preserves color and reduces light scatter over water compared with higher CCTs.
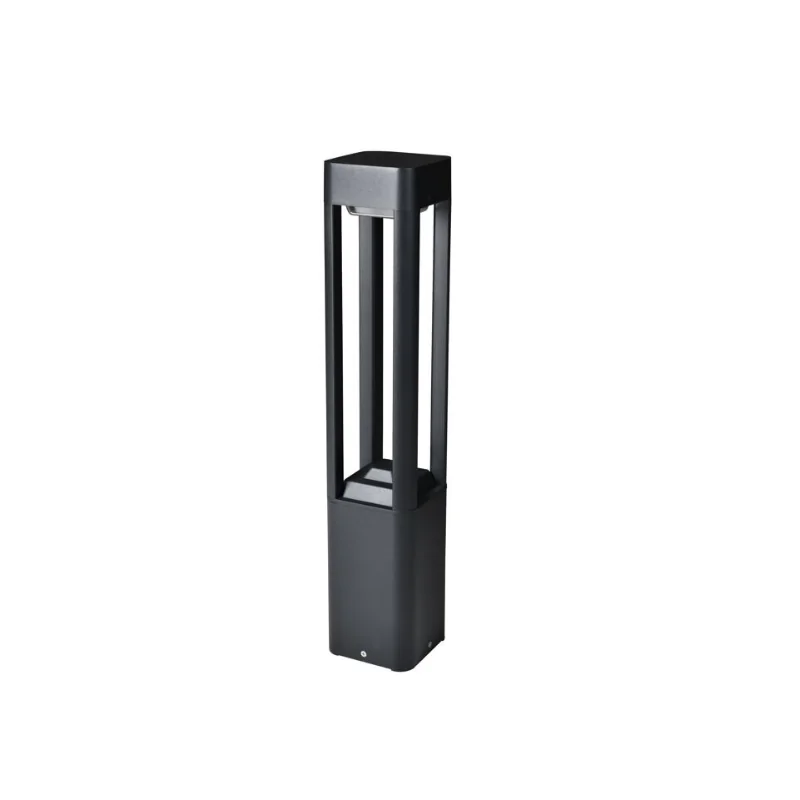
Step 2 — Dial in beam angle and optics
Beam angle is your primary tool for shaping light on piers. Narrow beams concentrate lumen density for bollard accent or column washes; wide beams distribute for even path lighting. Add cut‑off shields or integrated lenses for glare control so sightlines across water aren’t washed out. Optical choice affects mounting height and spacing directly, so model early — a small change in beam angle can halve your fixture count, or ruin a sightline if you’re careless.
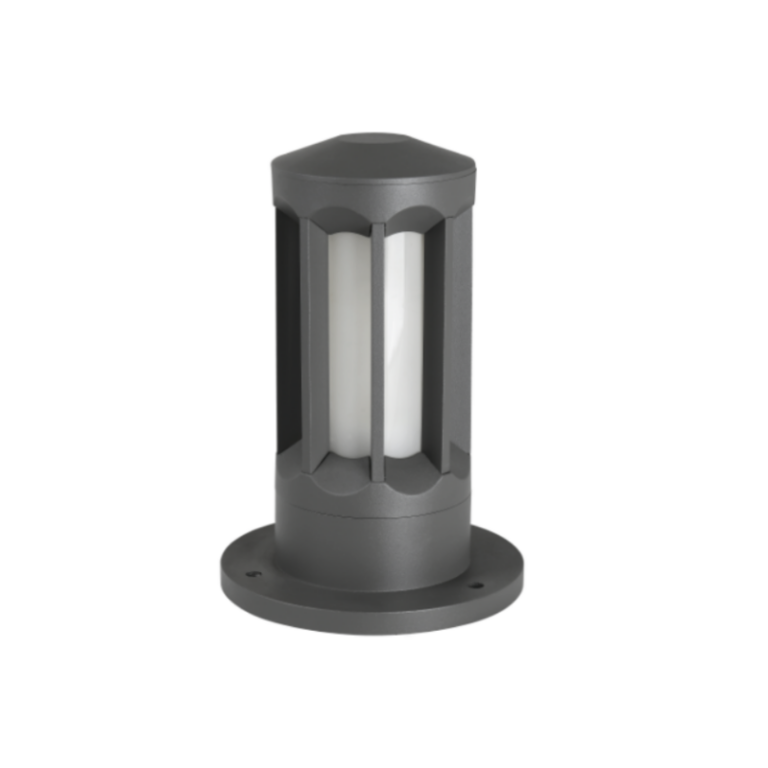
Step 3 — Material, corrosion resistance, and finishes
Pick materials that survive salt spray and UV: marine‑grade aluminum alloys with a corrosion‑resistant powder coat are standard for pier work. In a waterfront project I worked on in Seattle, specifying extruded aluminum housings with stainless fasteners prevented pitting and cut warranty callouts significantly — real conditions, real savings. When you write specs, call out substrate alloy, surface treatment, and fastener materials to avoid field substitutions.
Step 4 — Electrical, controls, and ingress protection
Specify driver type, dimming protocol (0–10V, DALI, or simple PWM), surge protection, and an IP rating appropriate to exposure — IP66 or higher is common for exposed piers. Don’t forget thermal management: LED lumen maintenance depends on adequate heat sinking, so list maximum driver case temperature or L70 expectations. Controls integration reduces light trespass and energy use — tie scheduled dimming to local curfews if the municipality permits it.
Step 5 — Prototype, mock‑up, and metrics
A physical mock‑up is non‑negotiable. Field test a full‑spec fixture on the actual structure, at night, and verify beam spread, glare, and illuminance with a lux meter. Capture CCT, CRI, lumens at fixture, and field lux at critical points. Use those numbers to close your submittal loop — accept or revise before mass ordering. This step minimizes surprises and aligns contractor expectations with design intent.
Common mistakes that derail projects
Designers often under‑spec materials, assume standard beam angles will fit unique piers, or omit control protocols until late in procurement. Another frequent issue: neglecting mounting detail and impact resistance — piers need secure anchoring and anti‑theft fasteners. Also watch for overlighting: more lumens don’t equate to better outcomes; optics and placement usually do the heavy lifting. —
Quick on‑site checklist before you sign the submittal
Confirm these items: specified lumen range and target illuminance; beam angle and shielding details; alloy and finish callouts; IP and IK ratings; driver type and dimming method; verified mock‑up data and accepted sample. If you tick these boxes, procurement becomes a technical transaction instead of a guessing game.
Three golden rules for evaluation (your advisory close)
1) Prioritize optical control over raw lumens: a properly selected beam angle + shield will achieve visual comfort with fewer fixtures. 2) Demand material specificity: list alloy, finish, and fastener types to prevent field failures in salt environments. 3) Require measured mock‑up metrics for acceptance — lux readings, CCT confirmation, and driver performance are the contract anchors. When these three metrics are met, you’ll get a reliable, low‑maintenance pier installation that performs season after season. Keyida. —